ONNX Runtime 在樹莓派上的物聯網部署
瞭解如何使用 ONNX Runtime 和樹莓派在邊緣裝置上執行影像分類,從裝置攝像頭獲取輸入並將分類結果傳送到終端。
如果您之前沒有配置過樹莓派,請查閱 樹莓派文件 來設定您的裝置。
將模型部署到邊緣裝置有許多好處和用例。請檢視我們 物聯網教程主頁 上的列表。
目錄
先決條件
- 樹莓派 3B 開發板
- 使用 樹莓派映象工具中的 Debian 燒錄的 SD 卡
- 樹莓派 攝像頭模組 或其他相容攝像頭。
- 用於遠端訪問的 VNC Viewer。您也可以選擇將開發板連線到顯示器。
- 本教程不涵蓋樹莓派的映象燒錄和設定。假定您對如何在樹莓派上配置和使用 Python 進行程式設計有基本瞭解。
下載原始碼、ML 模型並安裝軟體包
燒錄樹莓派並配置好後,就可以連線並下載原始碼到您的裝置了。
- 連線到您的樹莓派裝置
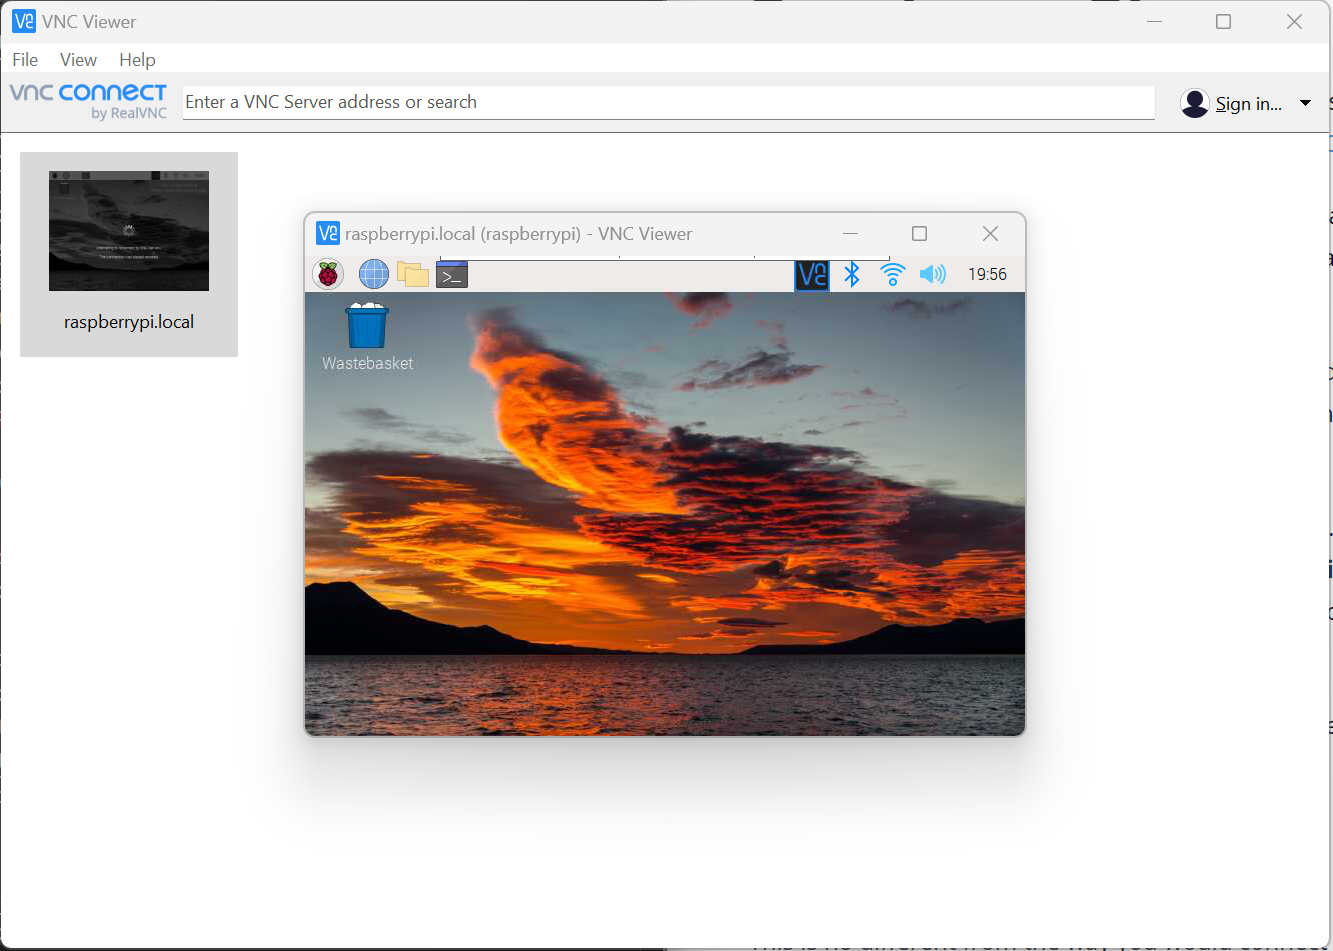
在本教程中,我們使用 VNC Viewer 進行遠端連線。如果您打算使用 VNC Viewer,請務必遵循這些設定步驟來建立連線。一旦在樹莓派上啟用了 VNC,並且您已在計算機上下載了 VNC Viewer 應用,就可以遠端連線到裝置了。
-
將原始碼下載到您的樹莓派。原始碼包含執行推理所需的一切,包括來自模型動物園的
mobilenetONNX 模型和imagenet_classes.txt類別檔案。git clone https://github.com/cassiebreviu/onnxruntime-raspberrypi.git -
導航到
onnxruntime-raspberrypi下載位置,並使用以下命令從requirements.txt安裝軟體包。cd onnxruntime-raspberrypi pip install -r requirements.txt在本教程中,我們使用樹莓派攝像頭模組。我們想使用提供的
cameratest.py指令碼測試攝像頭。如果攝像頭無法正常工作,請執行sudo apt update sudo apt upgrade來更新開發板和韌體。 -
透過執行以下命令配置和測試攝像頭。這將在當前目錄中建立一個名為
test.jpg的影像捕獲,並開啟攝像頭輸出的即時影片流。按ESC鍵取消即時影片輸出。python cameratest.py -
下方是
cameratest.py指令碼供參考import numpy as np import cv2 # Create test image using opencv. cap = cv2.VideoCapture(0) cap.set(3,640) # set Width cap.set(4,480) # set Height ret, frame = cap.read() frame = cv2.flip(frame, -1) # Flip camera vertically cv2.imwrite('test.jpg', frame) # Start live video feed until `ESC` is pressed to quit. while(True): ret, frame = cap.read() frame = cv2.flip(frame, -1) # Flip camera vertically gray = cv2.cvtColor(frame, cv2.COLOR_BGR2GRAY) cv2.imshow('frame', frame) cv2.imshow('gray', gray) k = cv2.waitKey(30) & 0xff if k == 27: # press 'ESC' to quit break cap.release() cv2.destroyAllWindows()使用
inference_mobilenet.py指令碼在樹莓派上執行推理
現在我們已經驗證了攝像頭已連線並在樹莓派上正常工作,是時候對原始碼中提供的 ONNX 模型進行推理了。該模型是一個 MobileNet 模型,可對 1000 個類別進行影像分類。
- 使用以下命令執行推理指令碼。
python inference_mobilenet.py - 終端輸出:

-
在樹莓派上進行推理的影像:
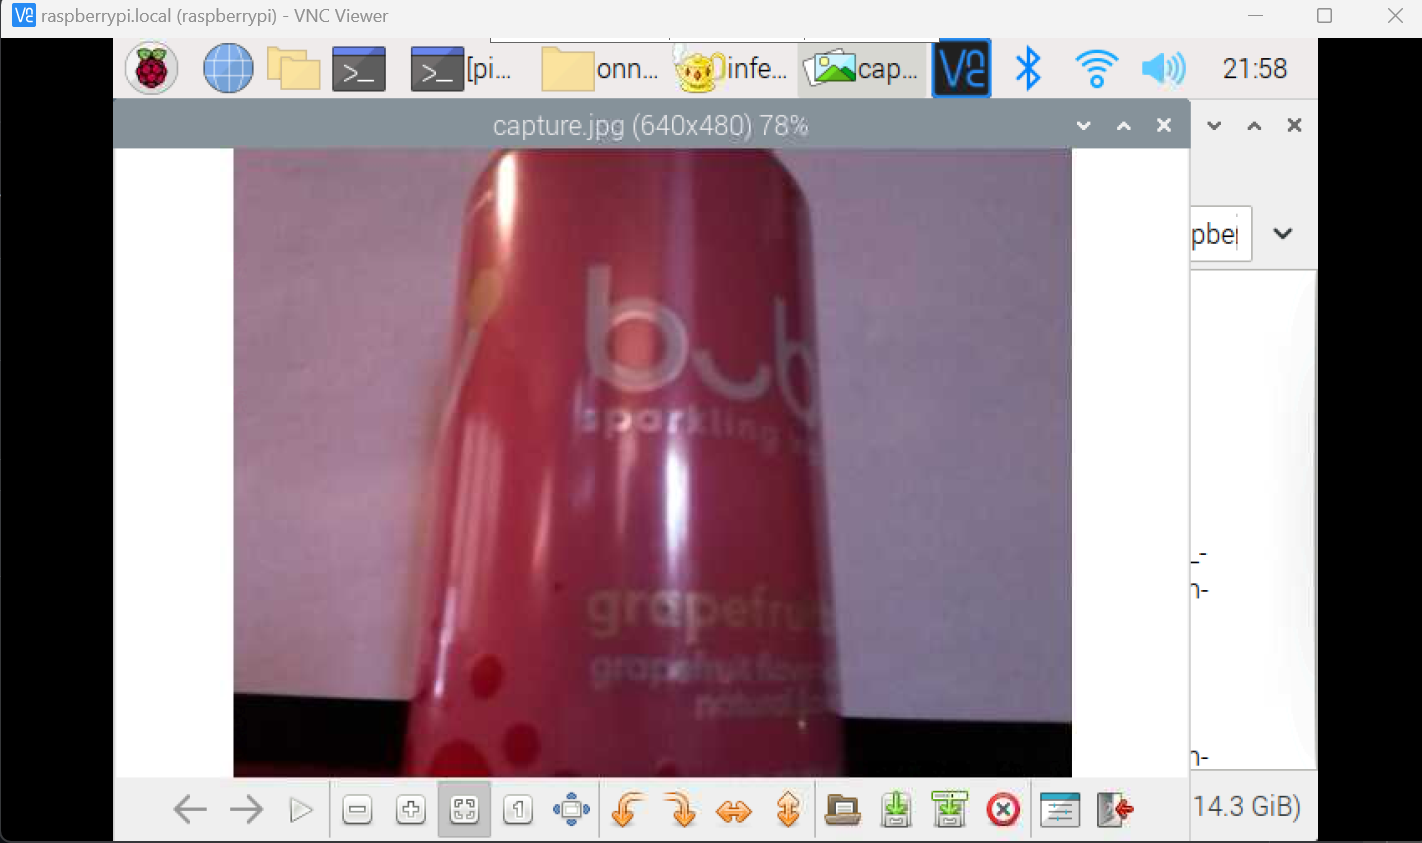
-
下方是
inference_mobilenet.py指令碼供參考# Import the packages. from PIL import Image import numpy as np import onnxruntime import torch import cv2 def preprocess_image(image_path, height, width, channels=3): image = Image.open(image_path) image = image.resize((width, height), Image.LANCZOS) image_data = np.asarray(image).astype(np.float32) image_data = image_data.transpose([2, 0, 1]) # transpose to CHW mean = np.array([0.079, 0.05, 0]) + 0.406 std = np.array([0.005, 0, 0.001]) + 0.224 for channel in range(image_data.shape[0]): image_data[channel, :, :] = (image_data[channel, :, :] / 255 - mean[channel]) / std[channel] image_data = np.expand_dims(image_data, 0) return image_data def softmax(x): """Compute softmax values for each sets of scores in x.""" e_x = np.exp(x - np.max(x)) return e_x / e_x.sum() def run_sample(session, image_file, categories): output = session.run([], {'input':preprocess_image(image_file, 224, 224)})[0] output = output.flatten() output = softmax(output) # this is optional top5_catid = np.argsort(-output)[:5] for catid in top5_catid: print(categories[catid], output[catid]) # Write the result to a file. with open("result.txt", "w") as f: for catid in top5_catid: f.write(categories[catid] + " " + str(output[catid]) + " \r") # Create main function to run inference. if __name__ == "__main__": # Read the categories from the classes file. with open("imagenet_classes.txt", "r") as f: categories = [s.strip() for s in f.readlines()] # Create Inference Session session = onnxruntime.InferenceSession("mobilenet_v2_float.onnx") # Get image from the camera. cap = cv2.VideoCapture(0) cap.set(3,640) # set Width cap.set(4,480) # set Height ret, frame = cap.read() frame = cv2.flip(frame, -1) # Flip camera vertically cv2.imwrite('capture.jpg', frame) cap.release() cv2.destroyAllWindows() # Run inference run_sample(session, 'capture.jpg', categories)
結論
現在我們已經成功地在樹莓派上運行了推理,我們可以使用相同的程式碼在任何支援 ONNX Runtime 的裝置上執行推理。我們還可以使用相同的程式碼在樹莓派上使用不同的模型執行推理。請檢視 ONNX 模型動物園 中的其他模型。